| 1. Follow the UUC instructions:
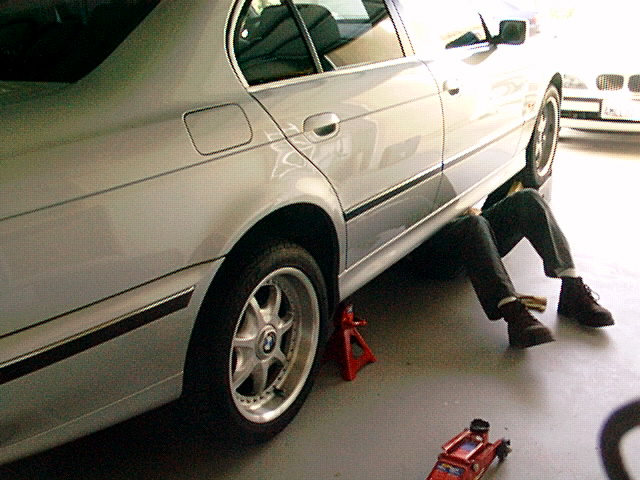
-Jack up the car. You really only need to put the front on ramps. Jacking up the rear and using jackstands helps, but the last car we did fine without.
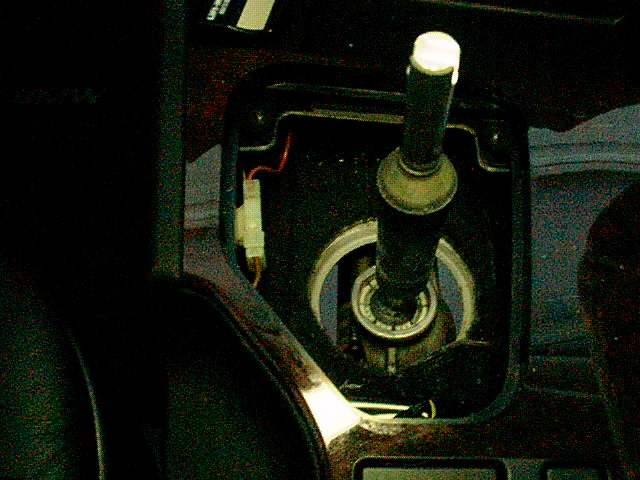
2. Step in the car -Inside the car do the following:
3. Go under the car. -Remove linkage retaining clip, it's not that hard to remove it just use a long screw driver. Don't worry about damaging it you are provided with another one.
4. From under the car use provided cup tool to turn lock 1/4 turn counter clockwise. Then remove shifter
5. Using an allen wrench loosen screw under UUC shifter and adjust shifter to desired height.
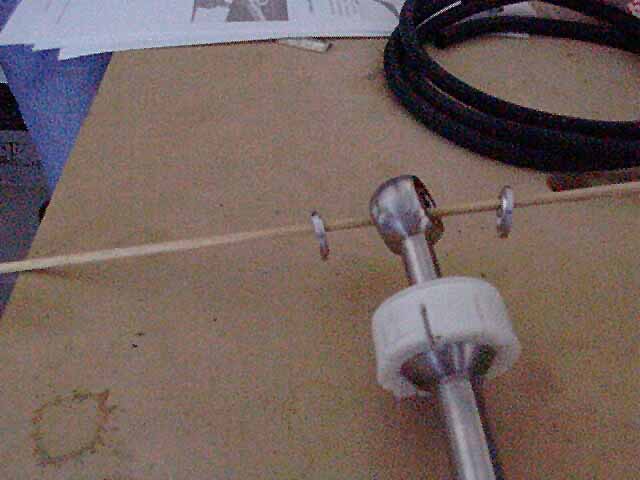
6. Install bearings into shifter and make sure that when installing shifter that when inserting aluminum bushings that smaller side faces in towards bearings.
7. Install shifter. Note: you do not need the cup tool, shifter snaps in. When on the bottom side of the car we discarded the original yellow bushing between shifter and linkage. Putting a the clip back on is hard. Make sure you use both hands. One hand to hold one side of the linkage the other to put on the clip. (Note: you may not have to use both yellow washers if install is too difficult) Install order going onto linkage:
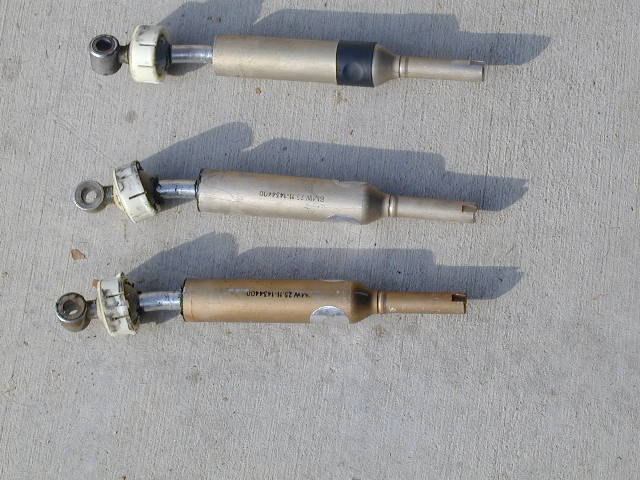
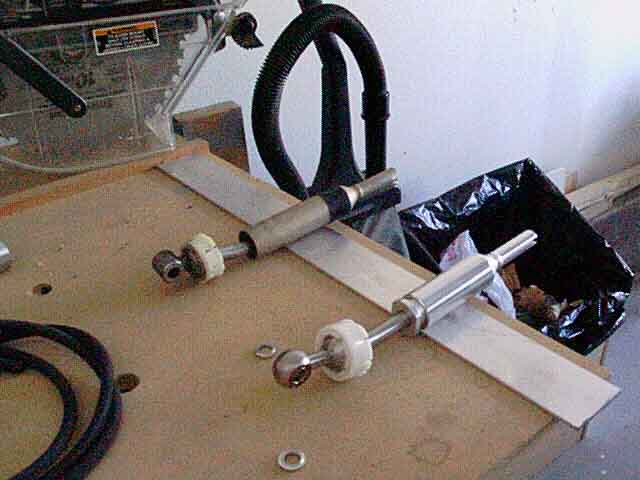
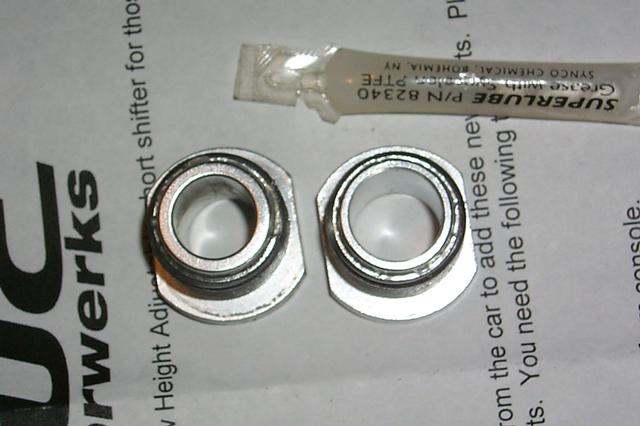
Additional Notes: UUC update kit This is the update for the first generation adjustable shifter from UUC. It features a larger diameter retaining nut and a rubber stop. These pictures were orginaly posted by Nick C.. I was unable to locate his post, but the kit supposedly removes some of the vibration from first and second. This upgrade helps a lot make sure you back out the allen screw such as not to make any contact with the shifter.
Older nut on the left.
Install advice... (archive) Posted by M5 LITE on February 24, 2000 at 10:38:17: I am no expert, but I do have a little experience.
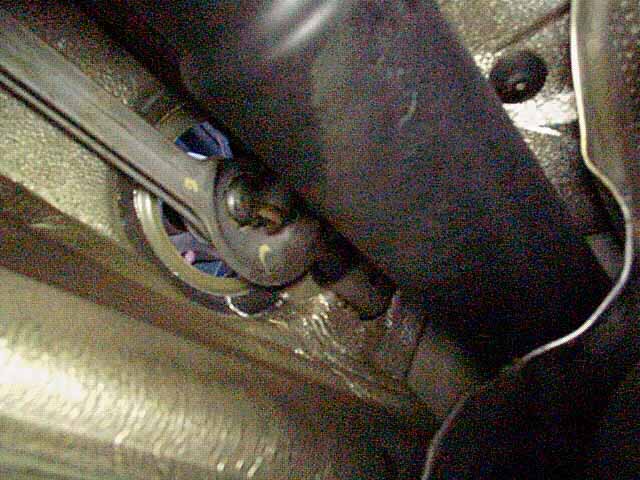
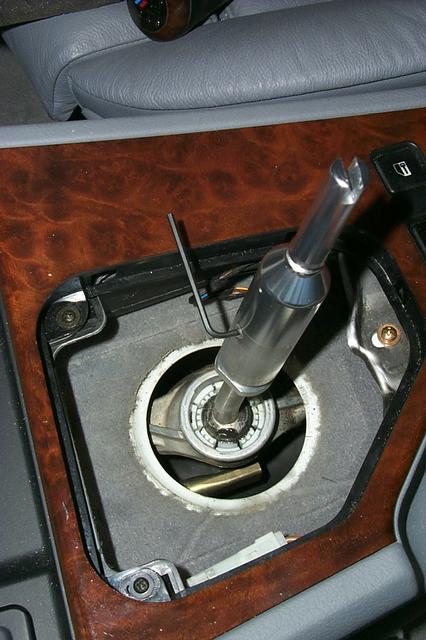
The shifter rod is hiding right behind the driveshaft. You will see where the shifter pokes down through from the console. When the instructions say that you will barely see the front pin/clip for the aluminum carrier - they are spot on - I could barely tell where it was. That clip needs to be removed for a ERK install - You DO NOT need to remove it for a NON-ERK kit. If you remove the pin/clip, use a very long flat-head screwdriver. It will help tremendously. If you have small, nimble fingers (per instructions) you will not need to remove the aluminum carrier from the car - just install the ERK from above and carefully thread the grub screws by rocking the carrier to the left for the right side screws and vice versa - the removal of the aluminum carrier pin/clip allows this. Make sure that after installing everything, that the rubber boot is seated properly. The rubber boot actually is actually two boots in one (inner and outer). The hardest part is engaging the inner boot over the ERK/Al carrier properly. You have to feel through the outerboot and look from underneath the car. You will see when it done properly. Best way to do this is to look BEFORE removing the boot in the first place and notice how it is situated. You may not know exactly what you are looking at when starting, but you will recognize it when you are through with the install. I hope this helps a little - and good luck!
|