|
Part1 |
|||
|
Intro This is where I had the most success. The seat splits into two halves the shafts that holds the top and the bottom half of the seat together have a contact point that seems to stick, and when the car turn right or left the top half/back of the seat leans slightly rubbing against this contact point sticking until "click" it releases. The solution is to lube the entire shaft that gets inserted into the seat back. |
click for larger image |
||
|
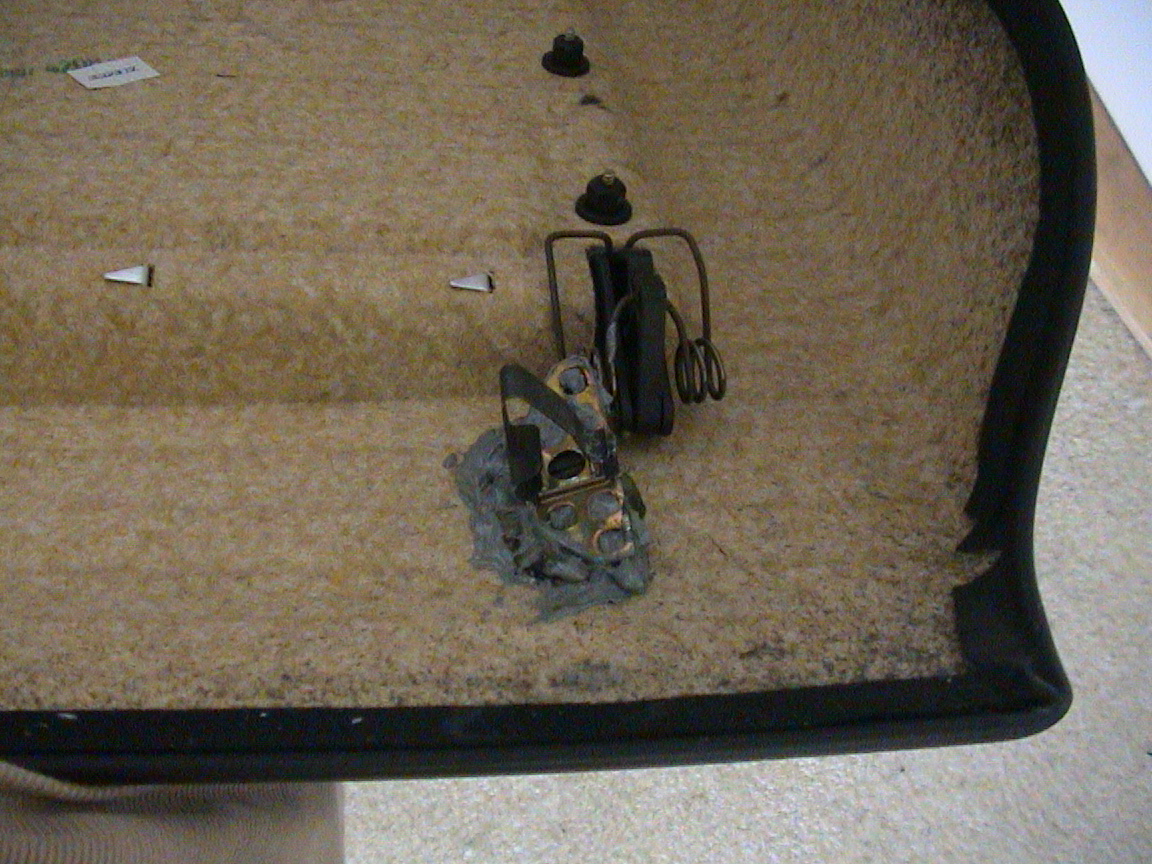
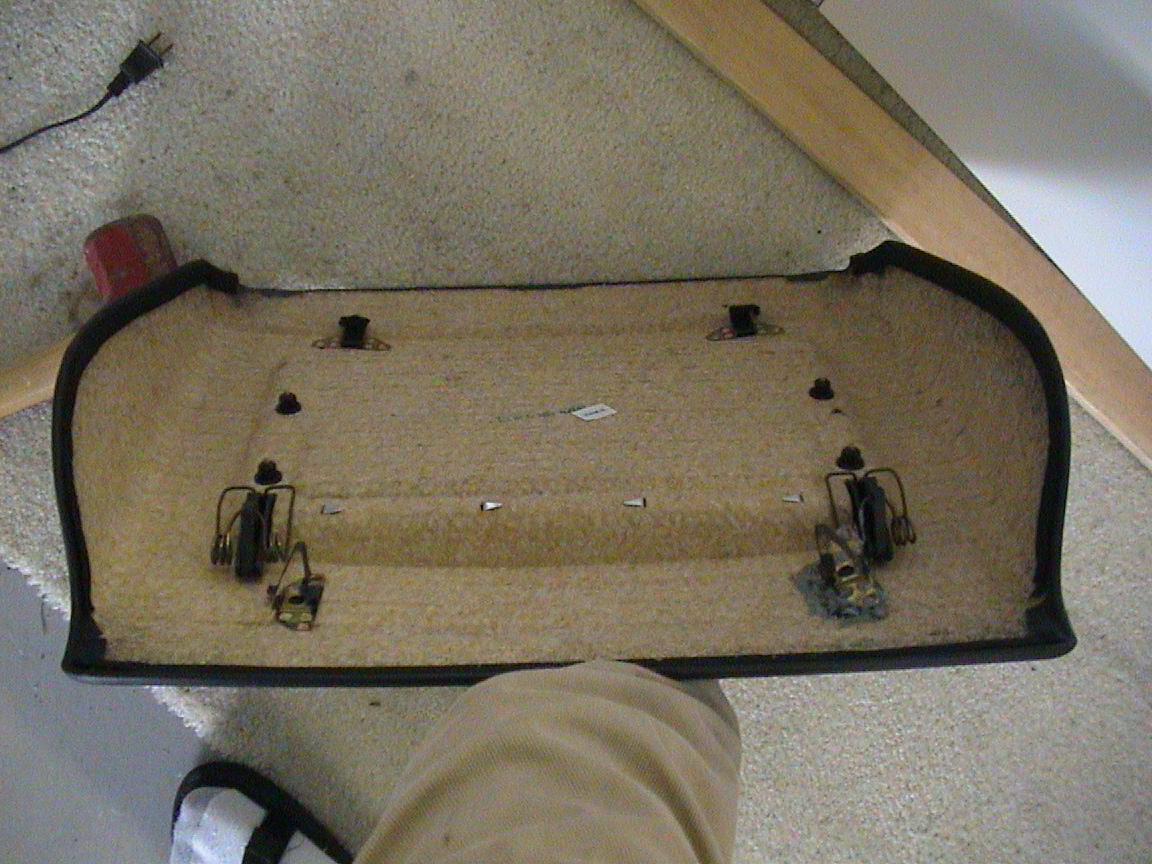
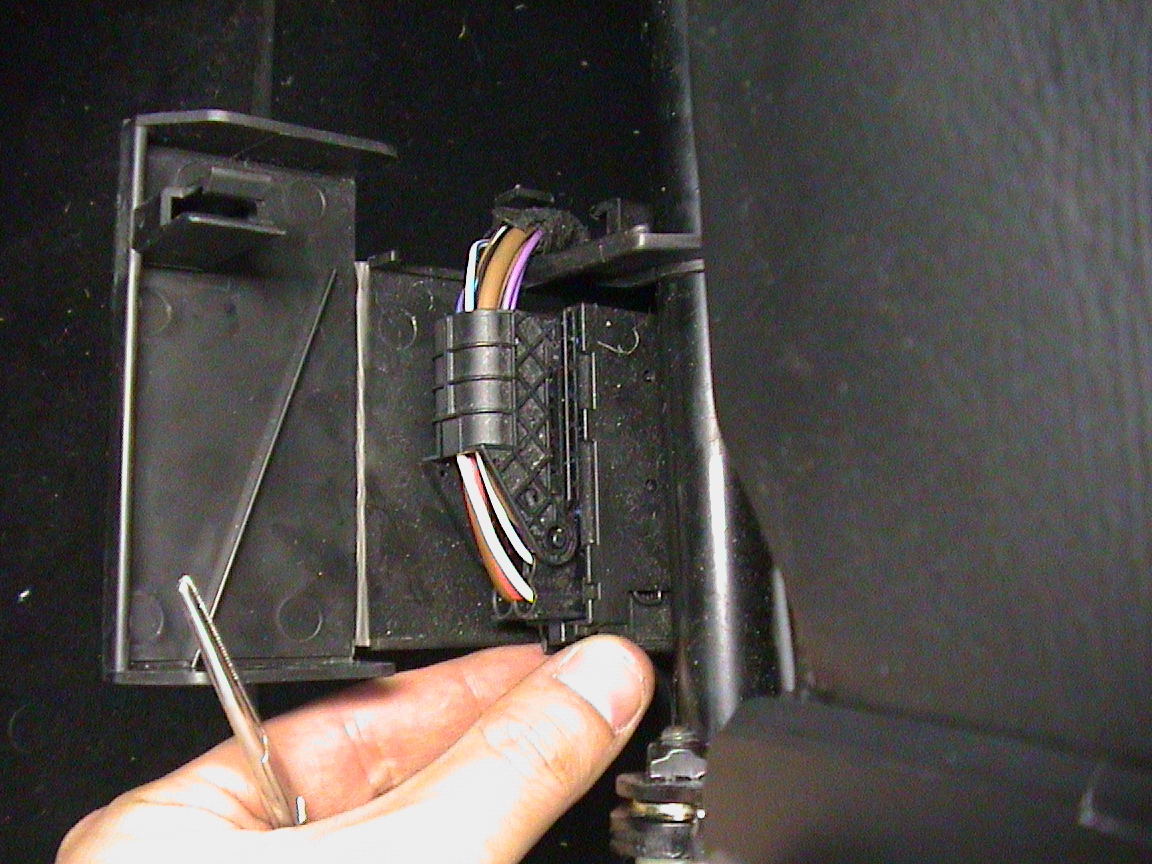
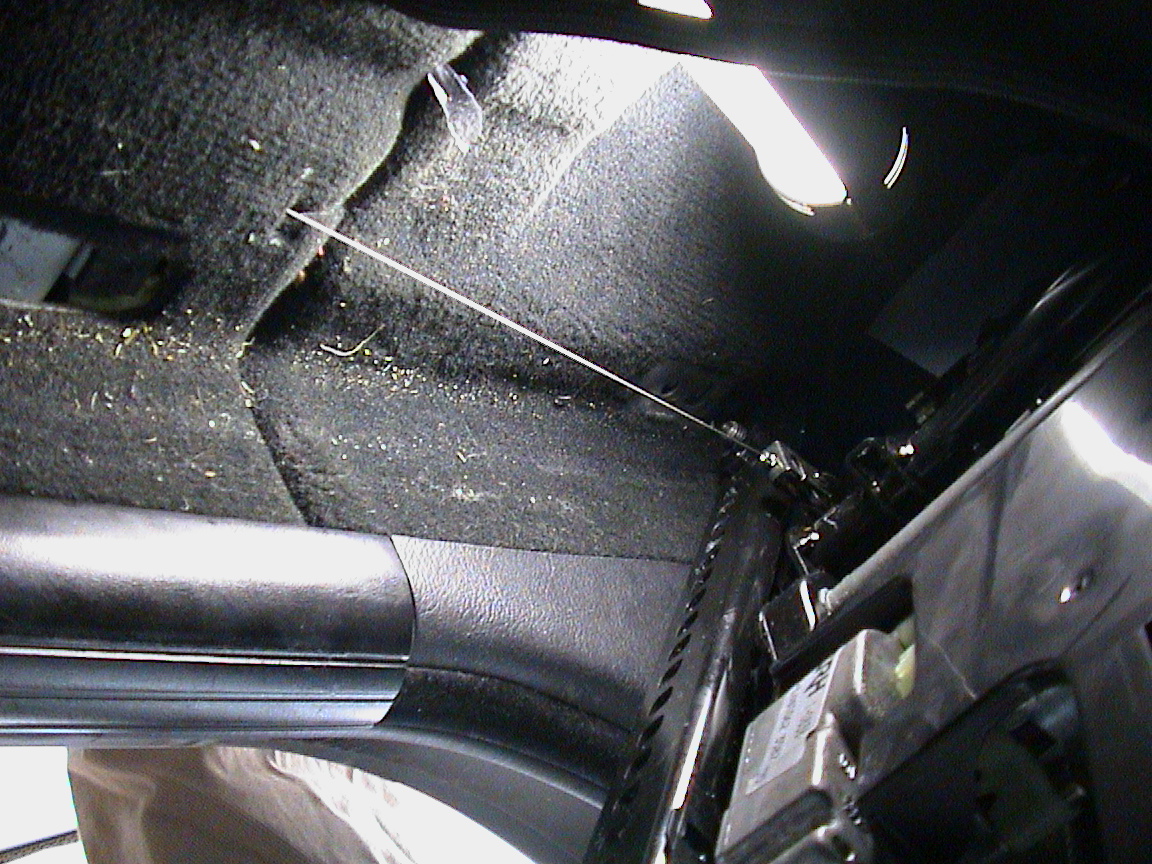
Access the seat back I did this with the seat out but I believe you can do this with the seat still bolted in. I'll give instructions later on how to remove the whole seat. So first, move the seat as far forward as possible then lean the seat back all the way back. Second, pull out the head rest this will give you additional clearance. Then move the seat back all the way forward. Next you'll have to remove the back panel to the seat. To do this you can try to pull it off, (be careful), if it doesn't work you can try to get a 12 ruler or something 10 inches long and flat. Insert it in the bottom of the seat in the middle move it left or right to release the two clips holding it on. Notice the pictures of the bottom clips the latching mechanism points to the middle of the seat. The top clip is just a hook just lift the panel and pull and it should come out. |
Picture of bottom clips
click for larger image
click for larger image |
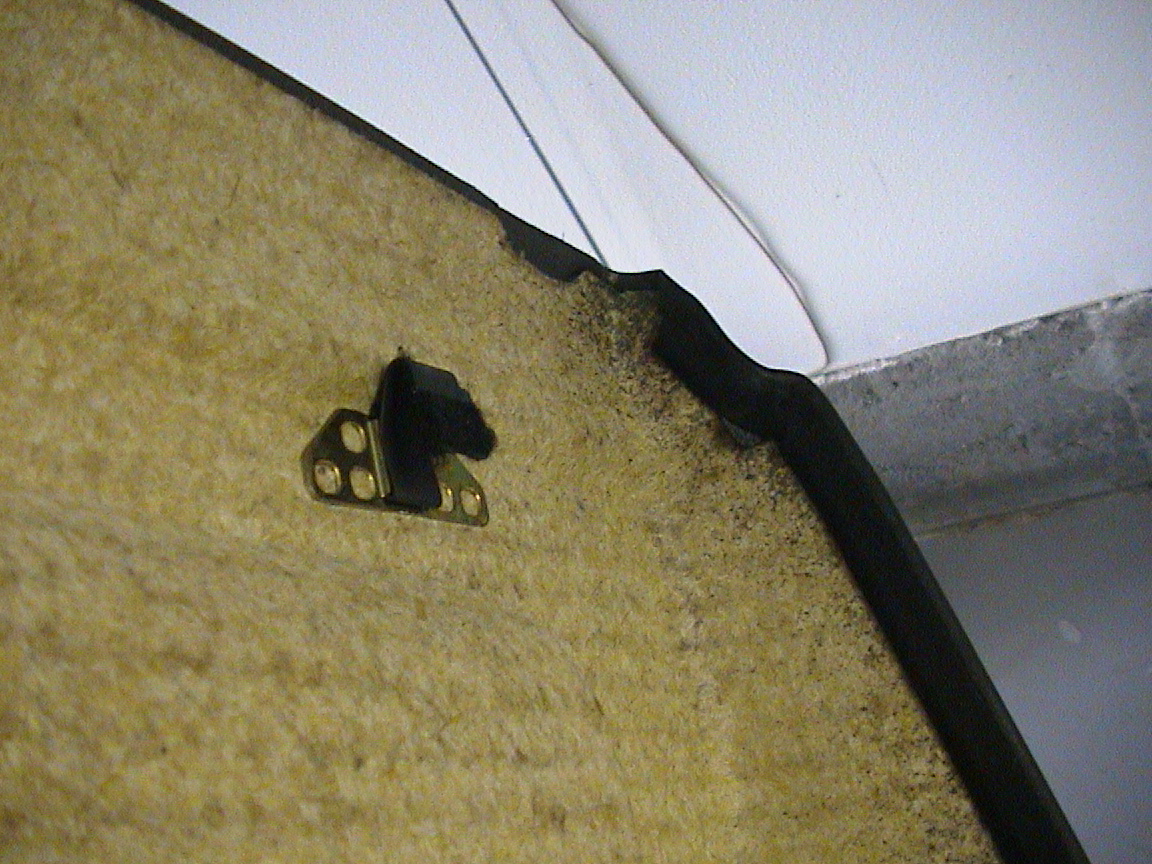
Picture of top clip
click for larger image
|
|
|
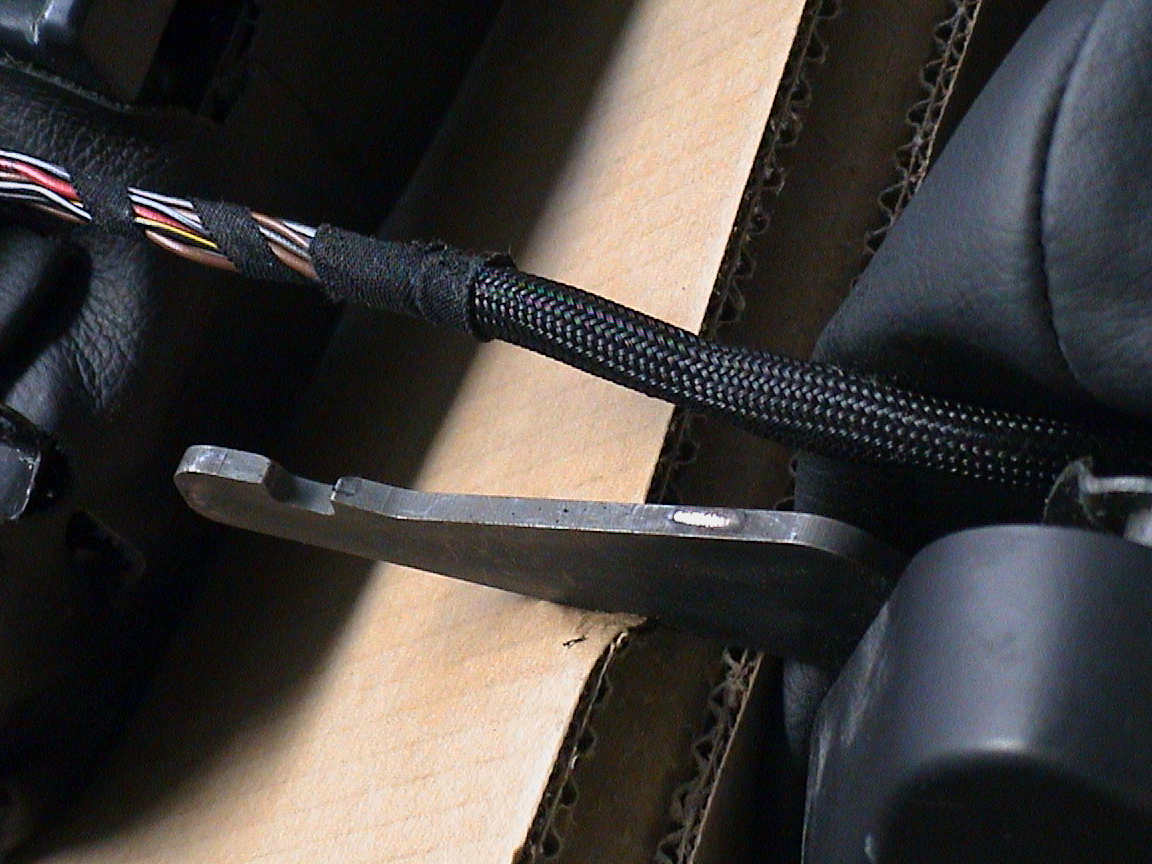
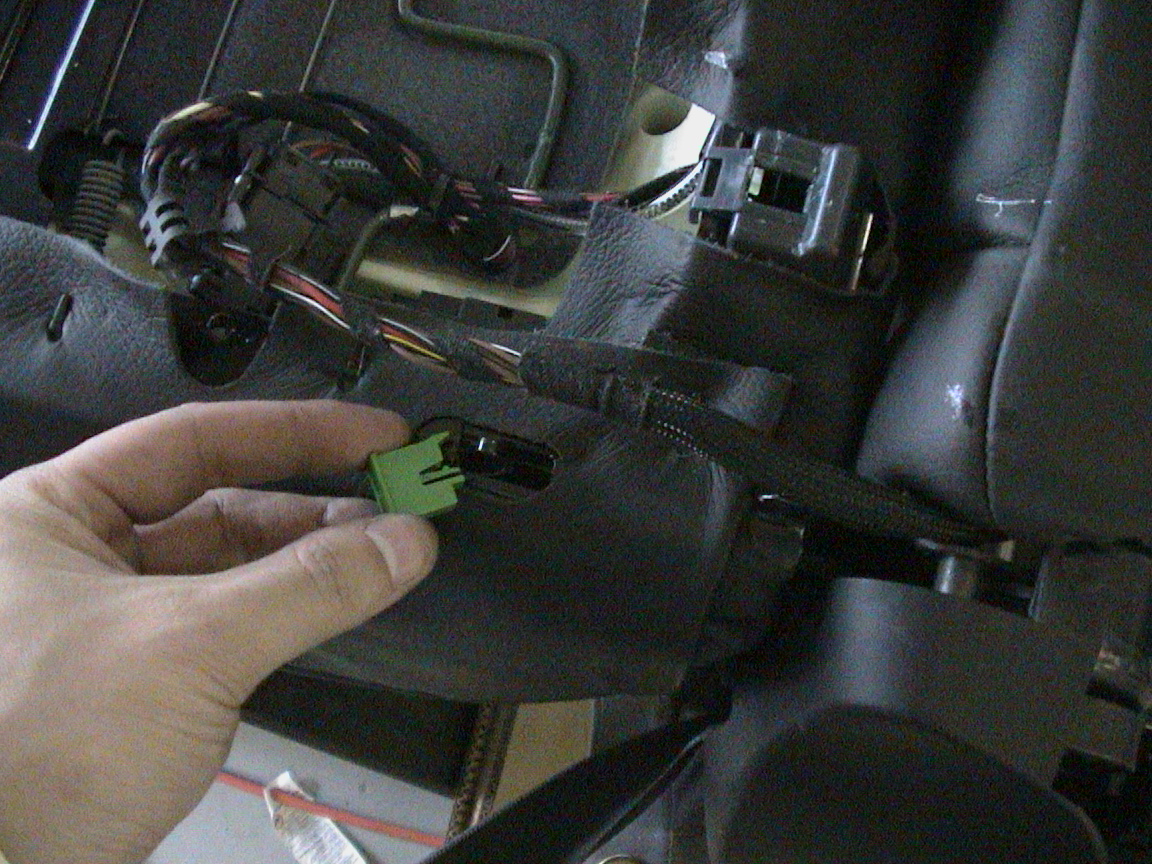
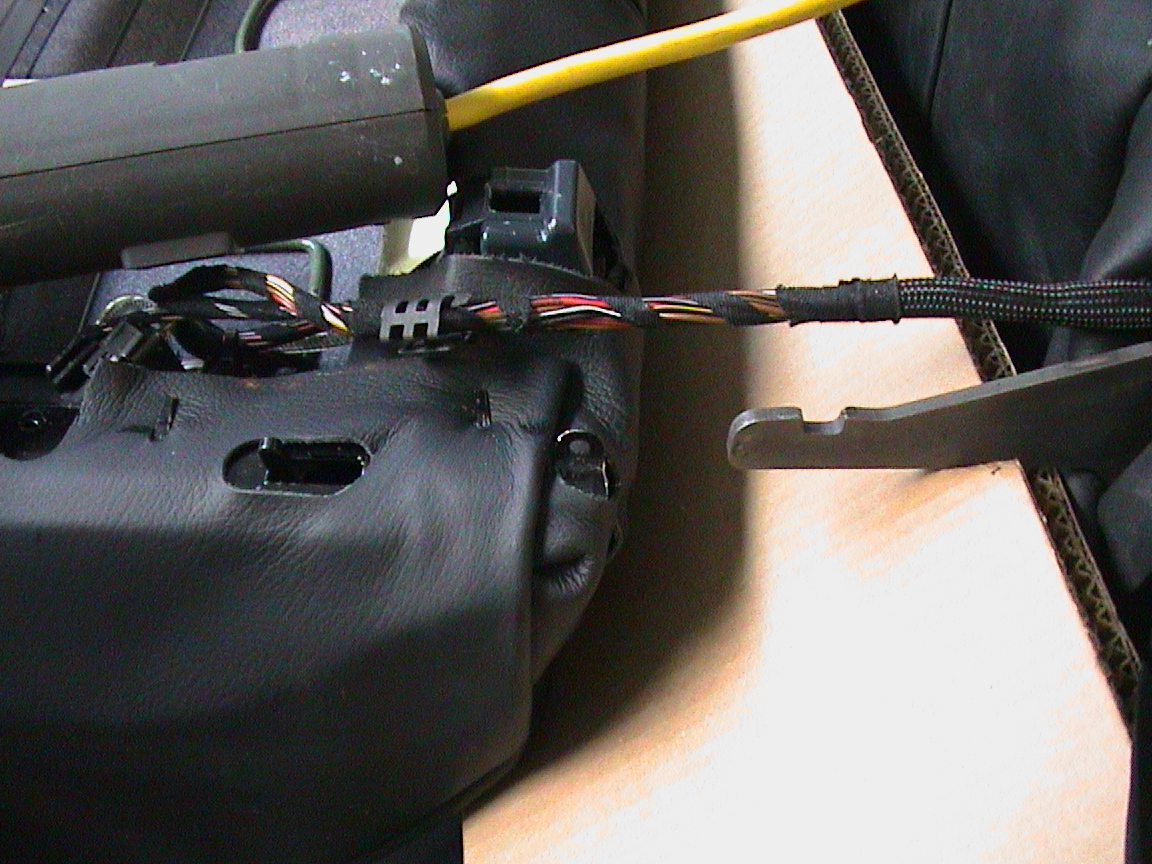
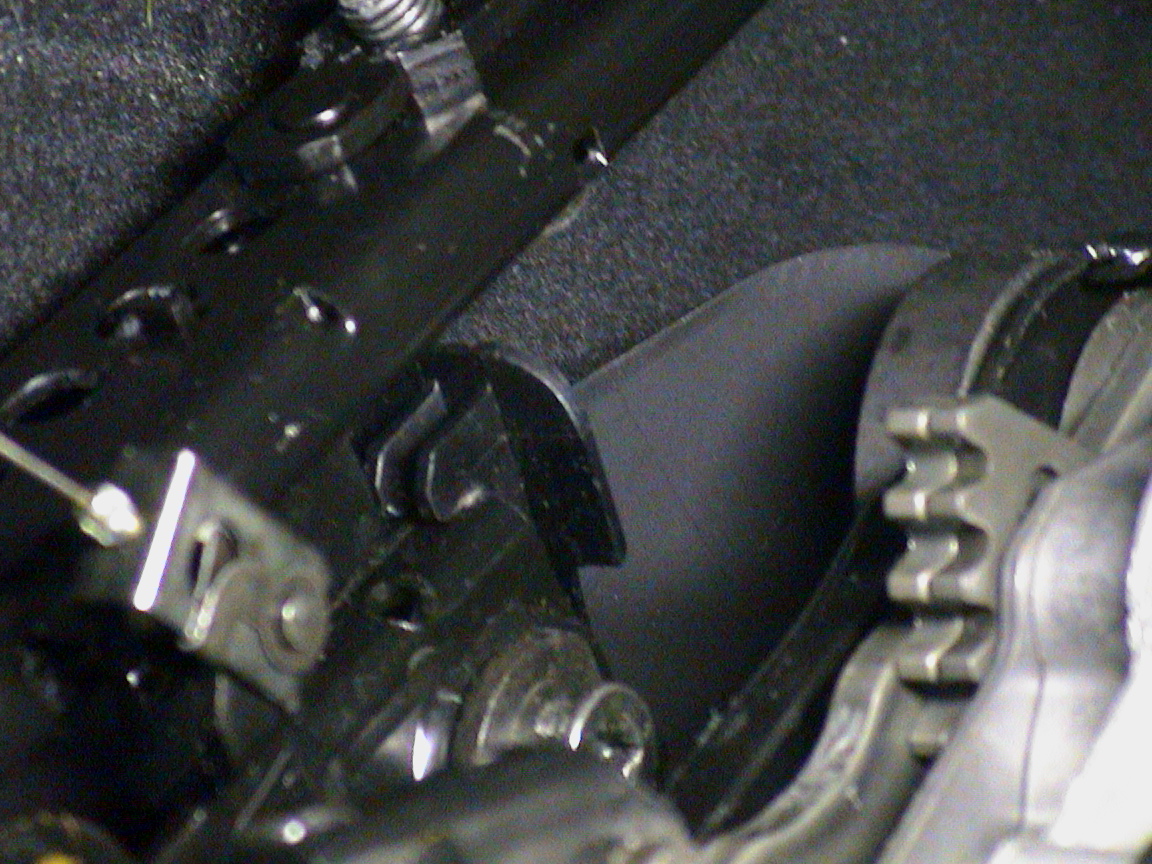
Separating the seat back from bottom To separate the seat back/top look for green latch locks and pull them out. Then press the latches down and pull the seat top up. You might need to cut the zip ties that hold the power and air to give you enough slack To press the latches down two screw drivers works great. Lube both shafts and reverse the process.
If luck prevails the clicking will stop. If not read on. |
click for larger image |
click for larger image |
|
|
Part 2 |
|||
|
Tools -Torx t-45, t-22 -Small screw driver Remove seat So the clicking hasn't stopped well here's the part where you will really get your hands dirty. Okay pull the seat out click here for instructions. Some reference picture to go with the instructions picture on the right. |
ZIF socket seat electrical plug
click for larger image |
Tension cable and clip
click for larger image click for larger image |
|
|
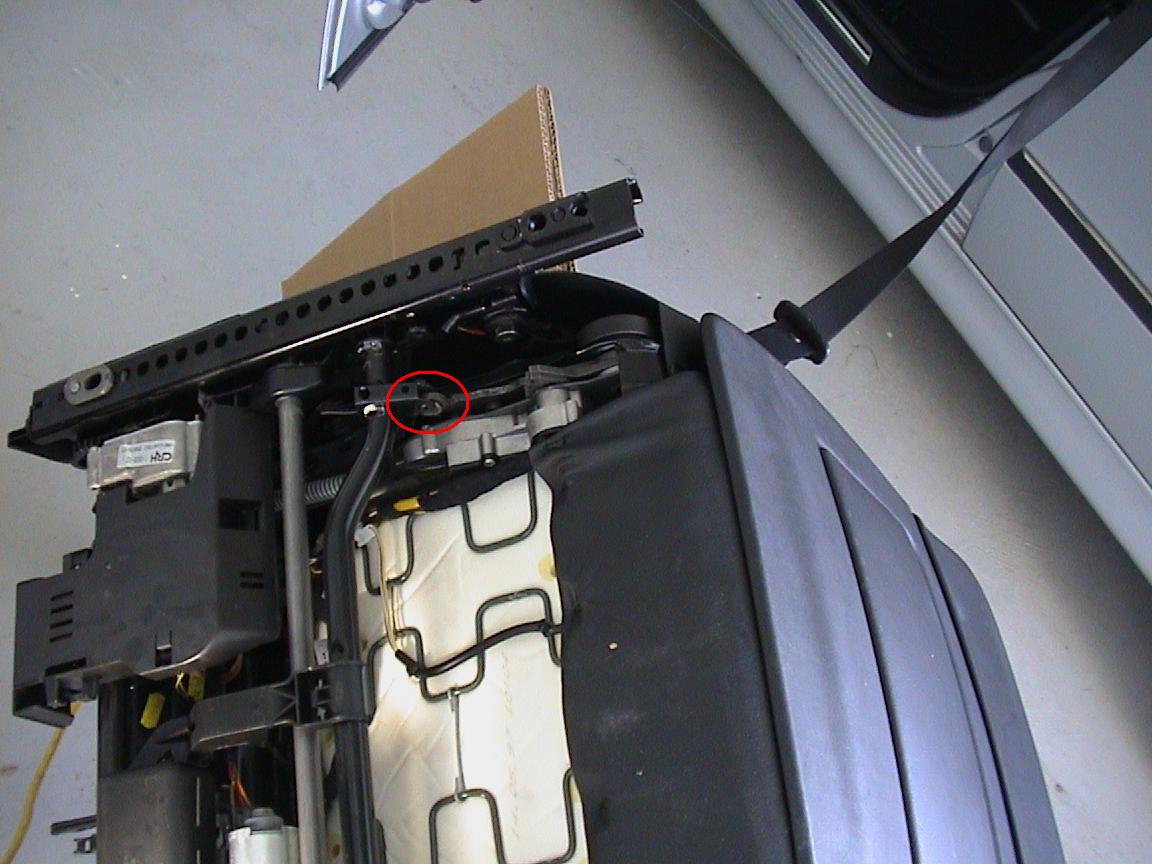
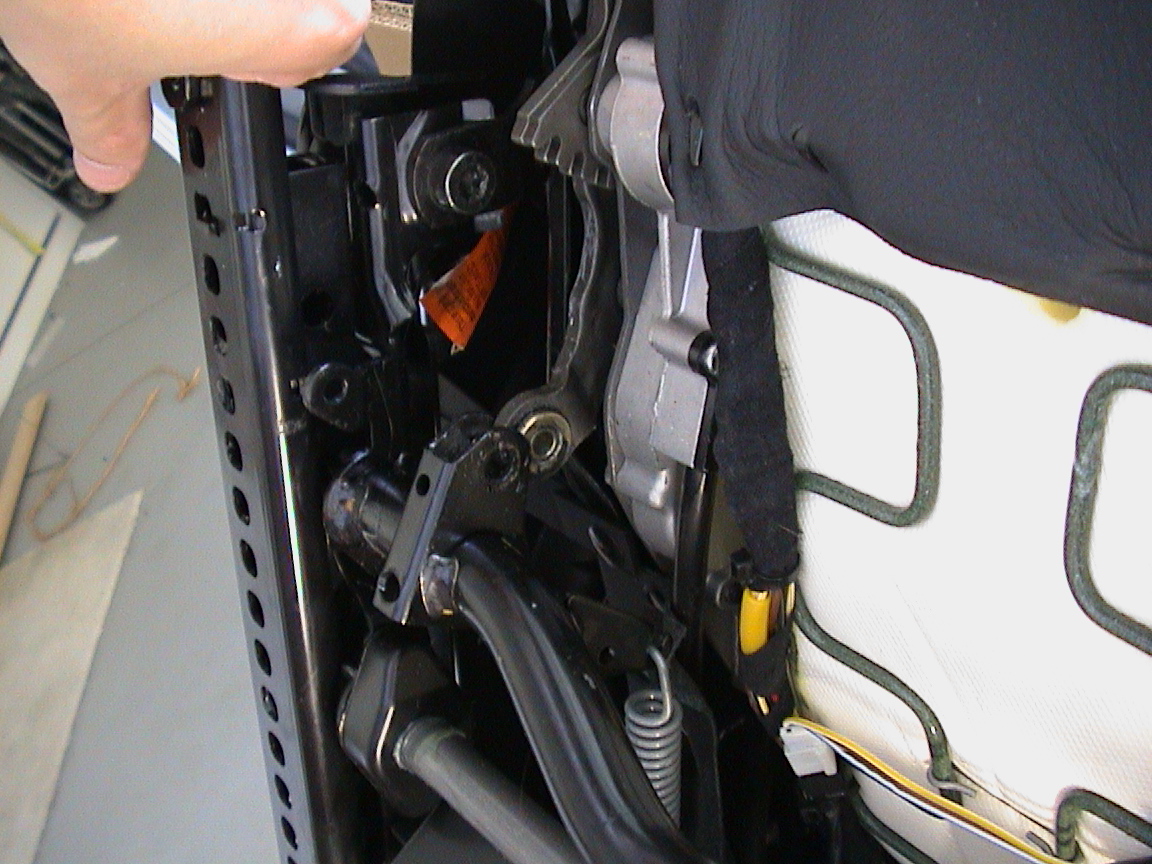
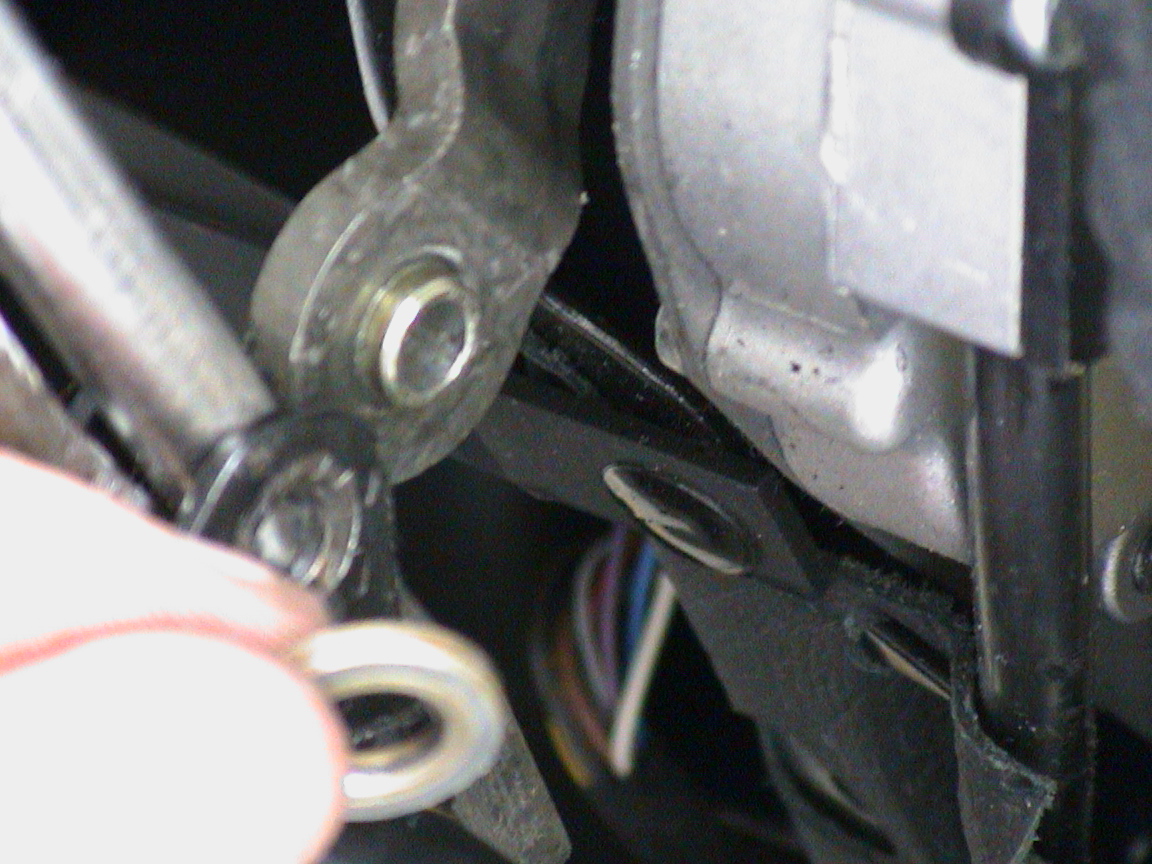
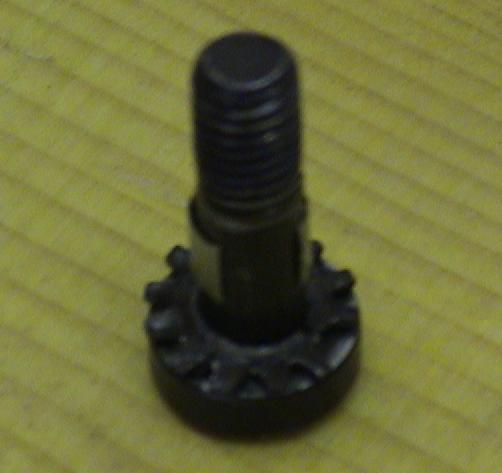
Unbolt rail assembly pivot/connection points. The seat is connected to the rails by 4x t-22 bolts. The one I had on my drivers rear side had some play in it (top right on picture). I end up having to fabricate some sleeves to take up some of the slack. There are two parts to this fix the slack in the brass bushing and the slack in the bolt going through the bushing. |
Sample of t-22 bolt location
click for larger image |
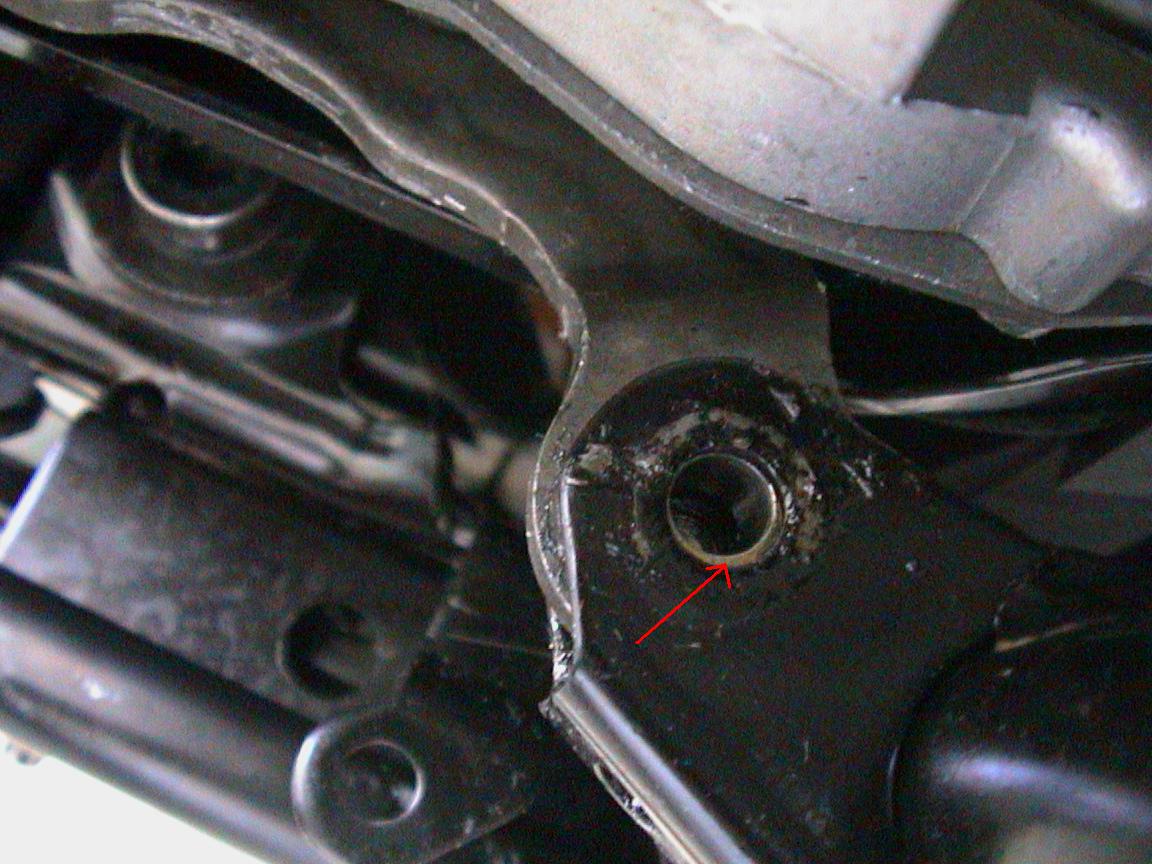
Notice slack in seat hard point against brass bushing.
click for larger image |
|
|
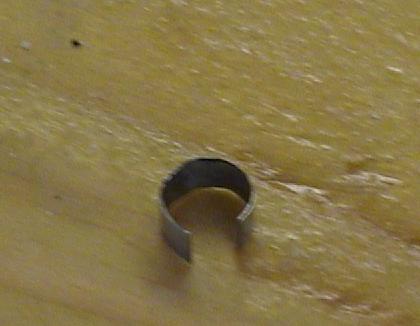
Remove brass colored bushing First flip the seat over disconnect all four bolt holding the rail. (I only show the one I had problem with. Then use a phillips screw driver or bolt that is slightly larger than the hole in the bushing and hammer out the bushing out of the retaining washer. |
click for larger image |
click for larger image |
|
|
Fabricate sleeve Fabricate sleeve for bushing and for screw going through the bushing. I used some brass I had for the screw and paper clip for the bushing sleeve. Basically I hammered the metal flat then made a circle I inserted the sleeve and between the bushing and the opening. Then I inserted another sleeve around the screw going through the bushing.
Reassemble and the slack should be gone. |
|
|
|