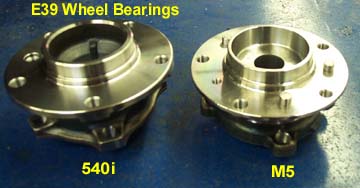
The wheel bearing assembly is held in place by four bolts. Two of the bolts are easily accessible. Two of them are blocked by the shock absorber, which turns what should be a 5 minute job into the more complicated process documented below.
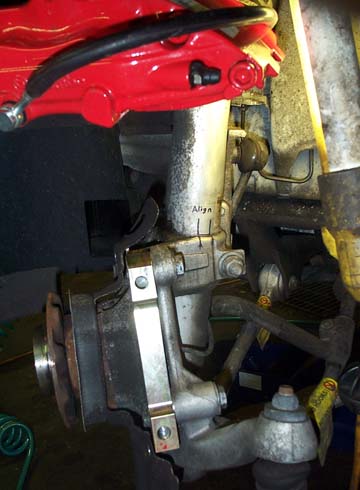
If you are installing
a big brake kit, it is a very good idea to change your wheel bearings
at the same time.
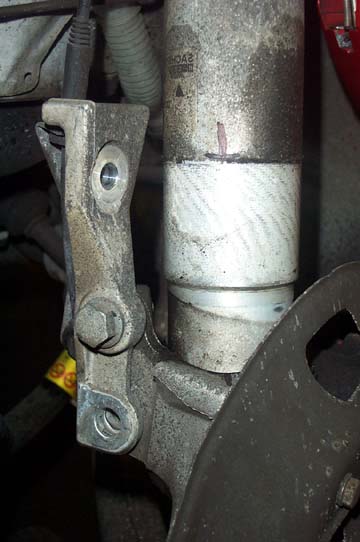
The shock absorbers on the E39 BMW are the same part number for the left and right side. There are marks on the back of the strut (L or R) that are lined up during installation with a slot on the back of the aluminum steering knuckle. Rather than use those marks, it is easier and more accurate to draw your own marks with a permanent laundry marker on the strut and steering knuckle. Clean the dirt off a small area and mark one or two vertical lines on both the strut and the aluminum knuckle.
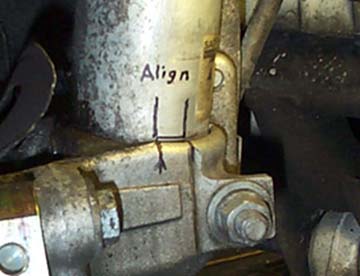
Once you've marked the strut, remove the pinch bolt which is shown in this photo just below and to the right of the alignment marks. You'll need to use a wrench on one end to keep the bolt from rotating as you remove the nut. Before placing the nut and bolt aside, mark the bolt with the laundry pen with the label "STRUT" because it looks the same as another DIFFERENT bolt that you will remove in the next step. You don't want to mix them up!
The pinch bolt holds a small bracket (you can see it in the NEXT photo) that clips to the ABS cable and on the driver side, the brake pad wear sensor cable. After you remove the pinch bolt, simply push this bracket out of the way.
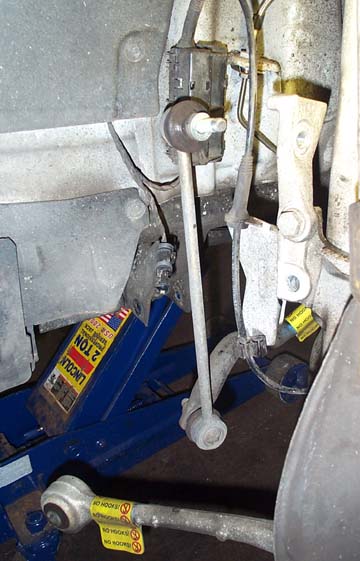
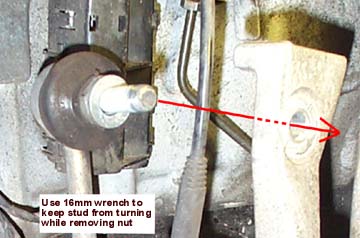
Remove the nut from the swaybar end link where it attaches to the aluminum bracket. You will need to use a 16 mm open end wrench to keep the threaded stud from turning while you remove the nut with a socket wrench. Wiggle the end link loose and push it out of the way. You may need to compress the suspension slightly with a floor jack in order to get the end link loose. Push it back and out of the way.
Grab the aluminum steering knuckle and pull it down as far as you can. Your instinct will be to try to turn the knuckle side to side, but it is held firmly in place by the front control arm. Instead, grab the strut housing and turn the strut side to side while you pull down on the knuckle. This is where it is helpful to have a 2nd person working with you.
Pull it down far enough that you can gain access to the four bolts which hold the bearing/hub assembly in place.
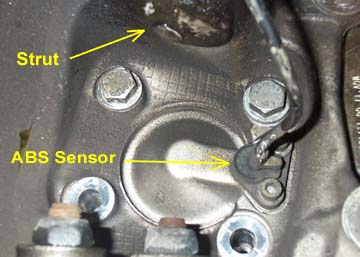
Be careful not to damage the ABS sensor wire.
An air wrench is helpful to remove these bolts, since that factory uses red LOKTITE and they are very long. You'll be sweating if you have to remove these bolts by hand.
Discard all four bolts after removal. They should be replaced with new ones.
Be sure not to torque the lower control arm bolt and pinch bolt until the suspension is compressed with a floor jack. As soon as I find the official torque specs, I'll publish them here.