Clutch Delay Valve Removal
Removing the CDV is not hard takes about 30 minutes with 3 people.
Required tools and parts
-
11mm and 14mm box open end wrench
-
Dot 4 brake fluid
-
3 people (helps)
-
18 inches clear vinyl tube 1/4 in(id)
-
CDV with internals properly and carefully removed or obtain a pre-modified CDV from Zeckhausen Racing
-
Fluid stopper made from tubing and screw.
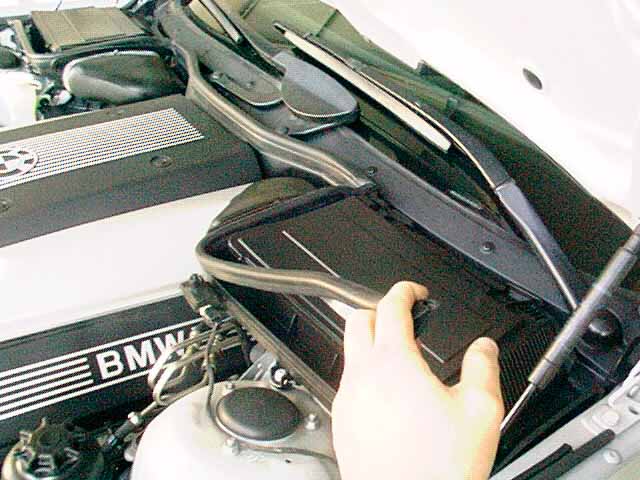
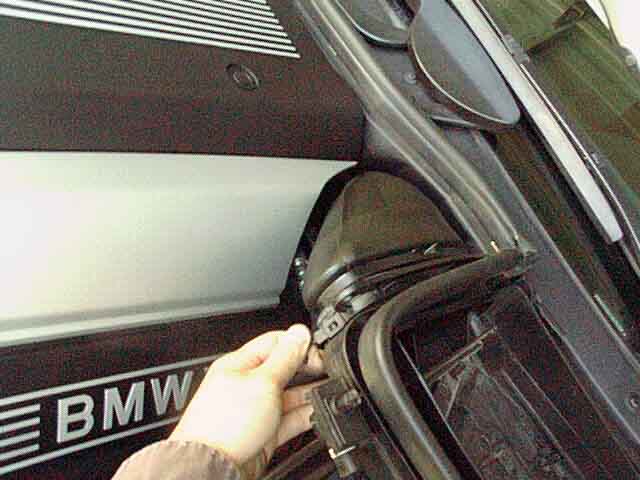
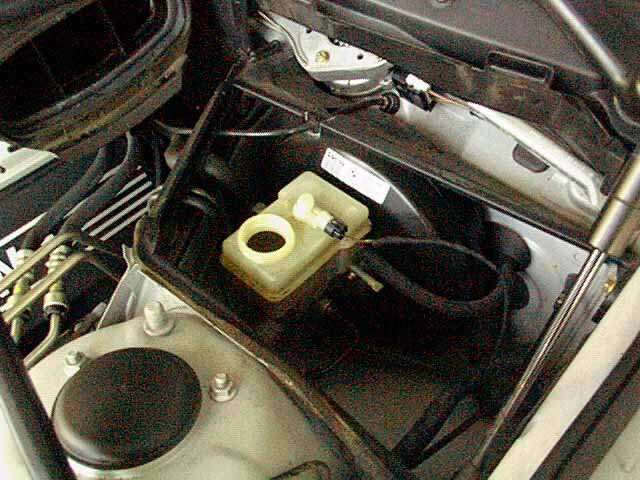
1. Jack up the car or use ramps to get access to CDV on the bottom of car. Open and remove driver side air cleaner assembly start by removing weather stripping
2. Remove retaining clip
3. Unplug hood light switch
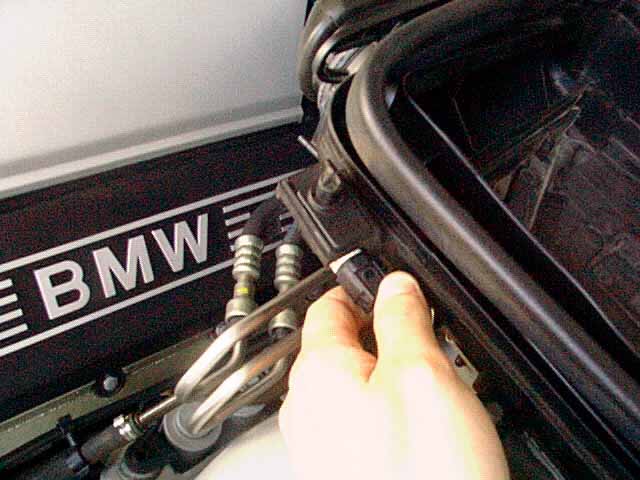
4. Disconnect duct and remove vent lid then remove assembly to expose master cylinder.
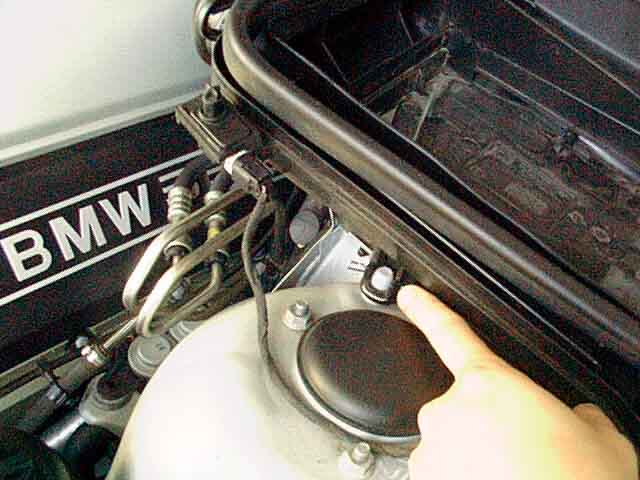
5. Top off mastercylinder. CAUTION brake fluid will eat paint. NOTE: Make sure you fluid level never drops below hose that feeds clutch, or else you have a lot of bleeding ahead of you.
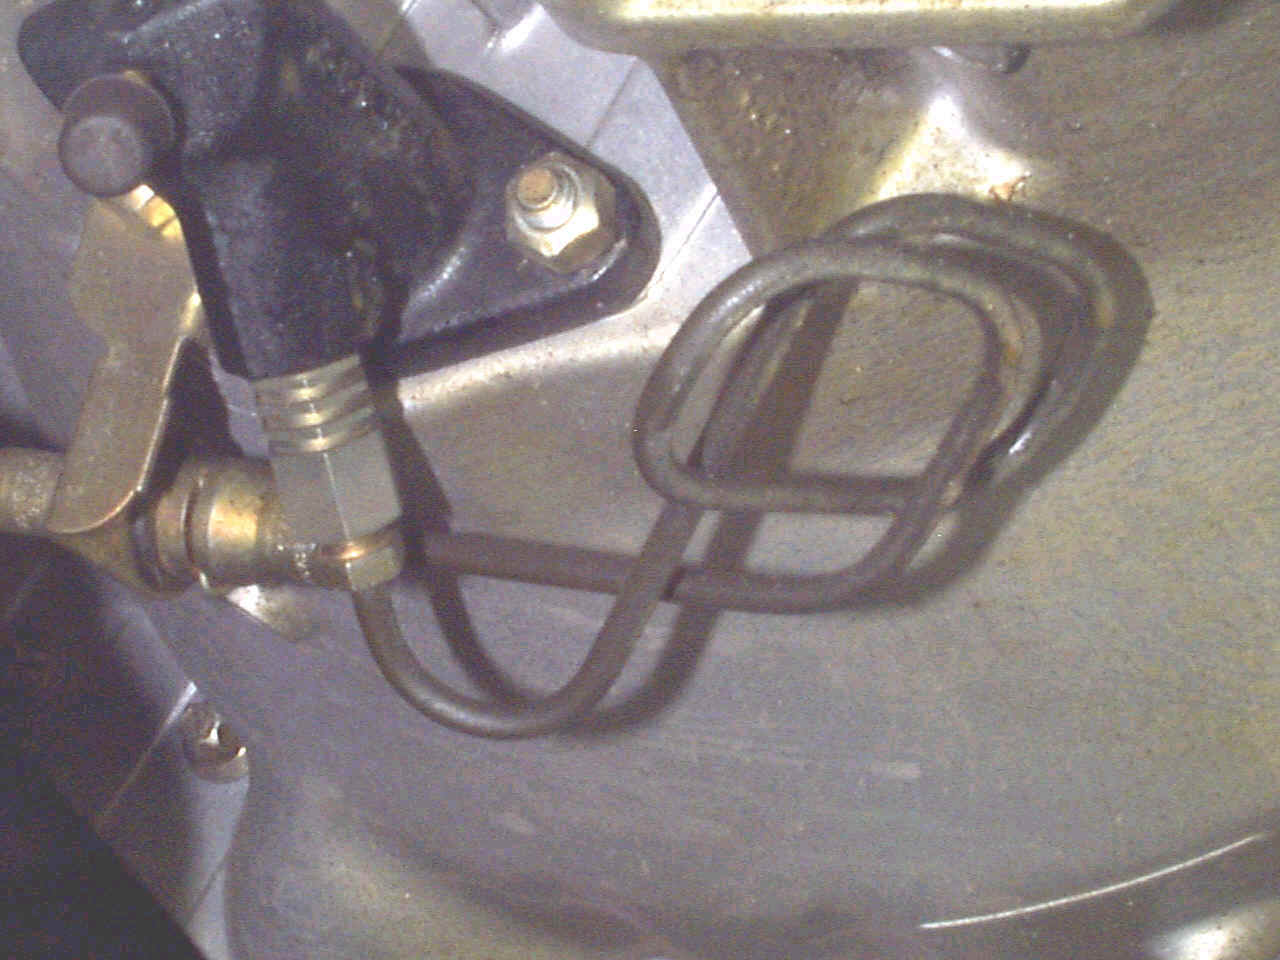
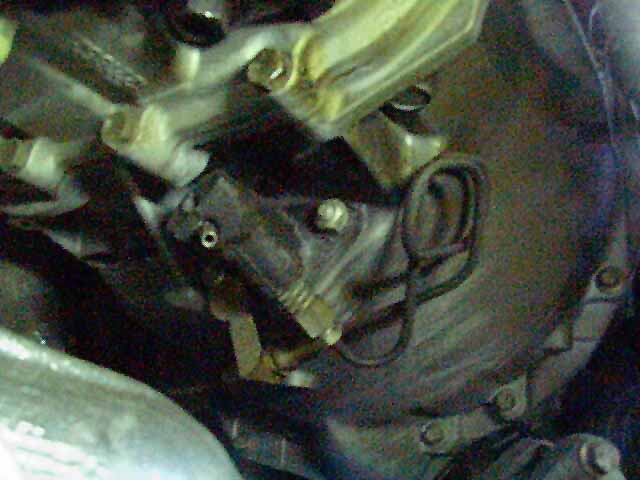
6. Locate the CDV bolted onto the transmission bell housing. Remove CDV. Attach stopper to end of pipe to keep air and fluid from dumping out.
7. Properly modify a CDV or obtain one from Zeckhausen Racing.
8. Reinstall the CDV.
9. Bleed the system by attaching vinyl tubing to bleeding
screw/nipple. Keep the wrench on the bleeding screw while person 2 from
top gets ready to step on the clutch. Person 3 should keep an eye on
master cylinder and have a bottle of DOT 4 handy, keeping fluid to its
highest level. Release
screw and step on clutch. Close screw and lift pedal up and do again
till no bubbles in fluid.