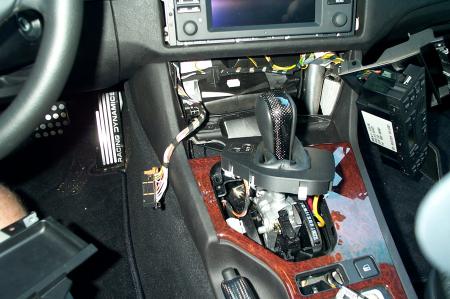
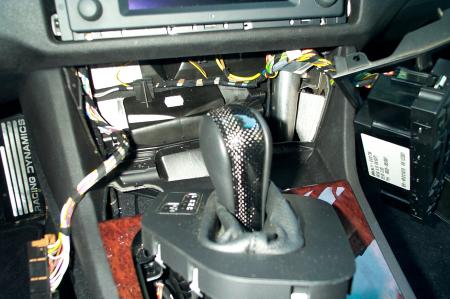
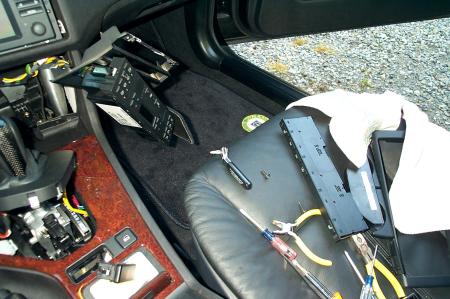
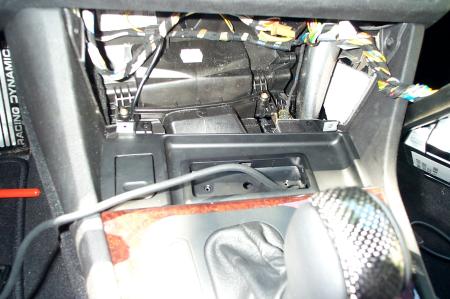
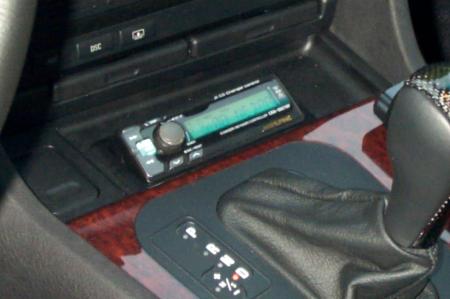
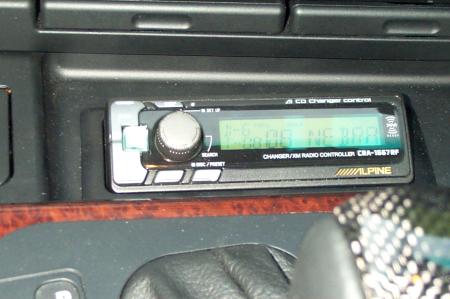
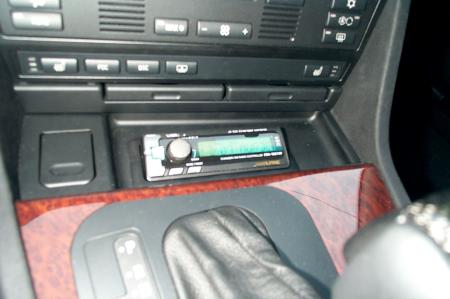
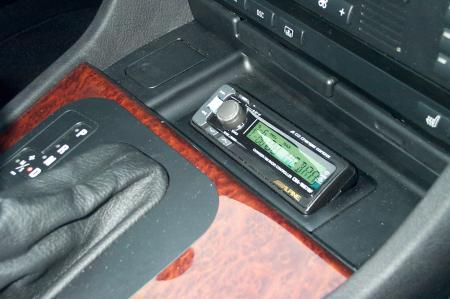
This weekend I installed the Alpine CHA-S634 Mp3 CD Changer and the Alpine CRA-1667RF Controller. It is a FM Modulation unit and quite honestly, it sounds great. You can not tell that its RF Modulated when listening.All functions continue to work as if it were factory, ie. , mute for phone and steering wheel volume. I am very pleased with the install/product and took a bunch of pictures. Its a lot of work to get the control unit to look like it belongs in this car. I had to rip apart the center console as Im a stickler for factory look installs. Without getting into detailed text Ill just post the pictures I took. They are pretty self explanatory. I would recommend this product wholeheartedly but warn you the install is quite a job. Here goes ....Lets hope the pictures work
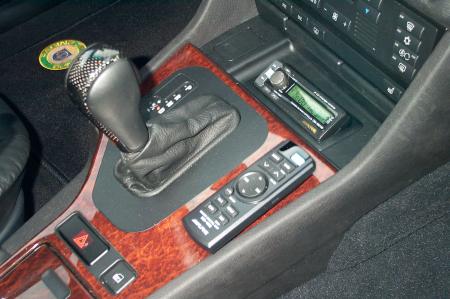
FINAL PRODUCT
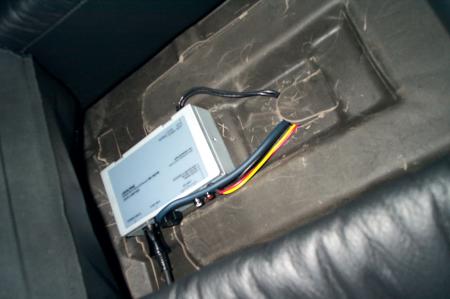
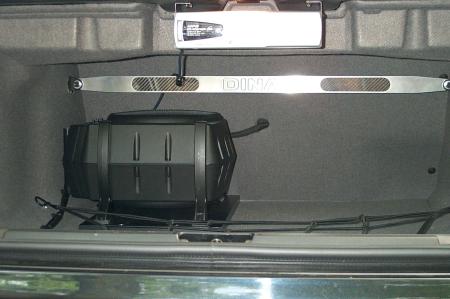
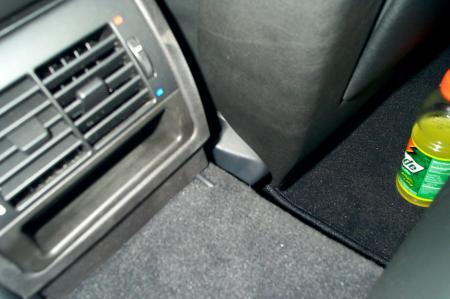
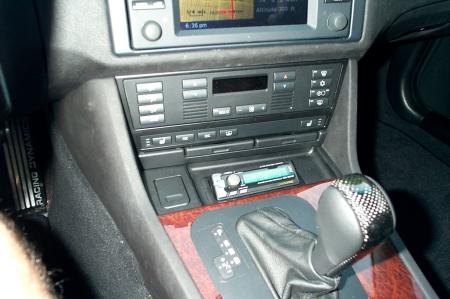
HOW I GOT THERE