Replacing the Thermostat

Submitted by Mark Sandler, mark@sandler.org, performed on November 23, 2002 on a 1998 528ia

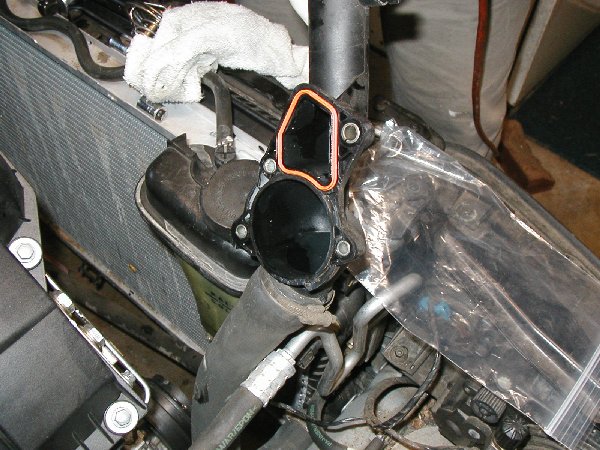
Replacing the thermostat is pretty easy if you have the right tools to remove the fan.  You will need a 32mm or 1 1/4" wrench to remove the fan.  You will also need a pulley holder to hold the water pump pulley while loosening the fan nut. Other tools required include sockets, screw drivers and maybe pliers.The entire procedure will take about 2 1/2 to 3 hrs.

To start, drain the anti-freeze from radiator using the drain plug on the bottom right side of the radiator. Replace the drain plug.

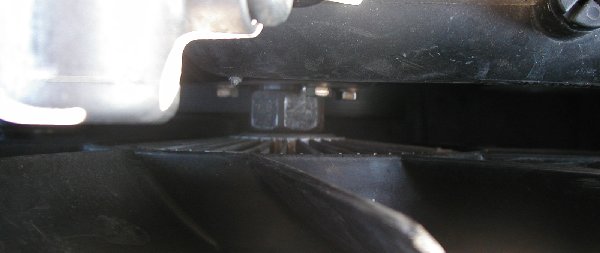
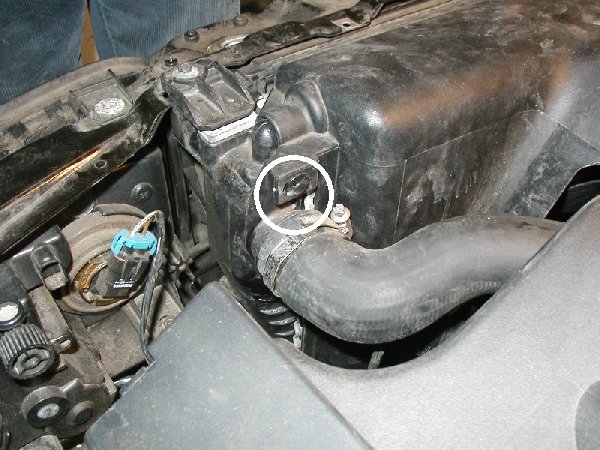
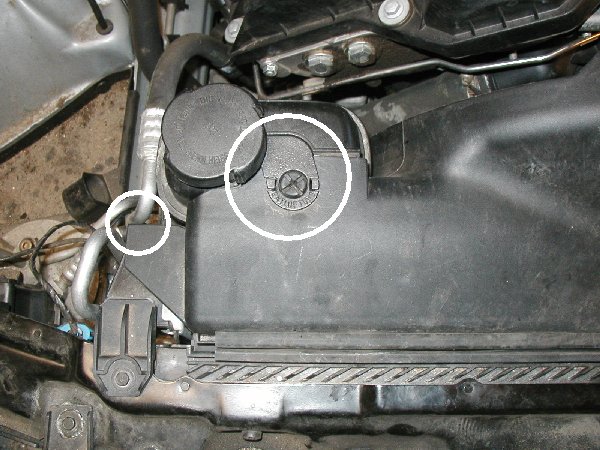
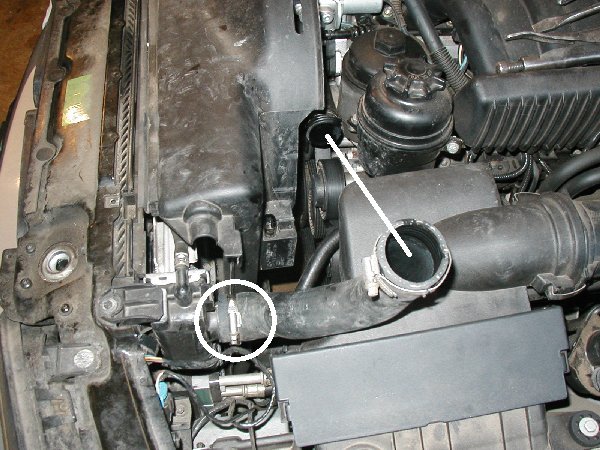
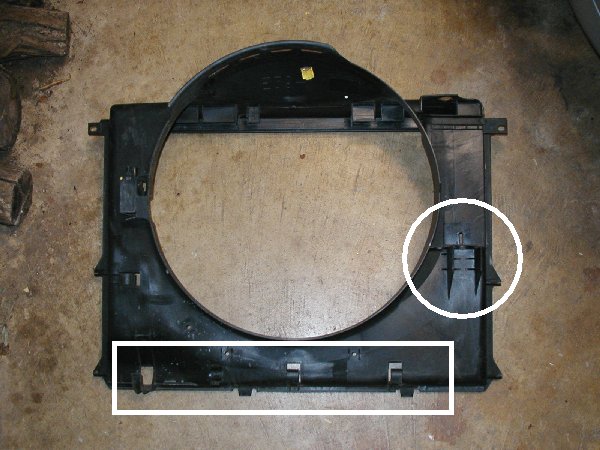
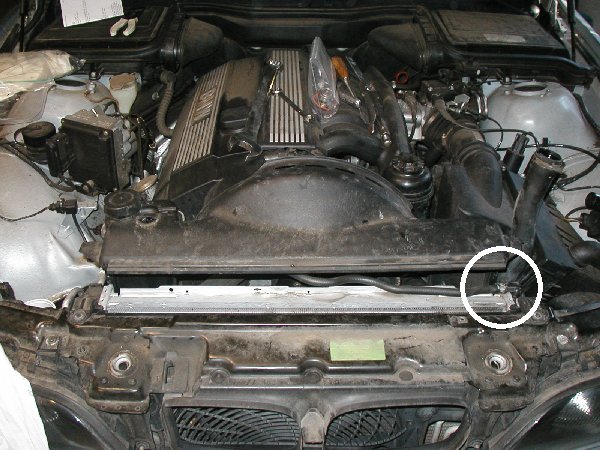
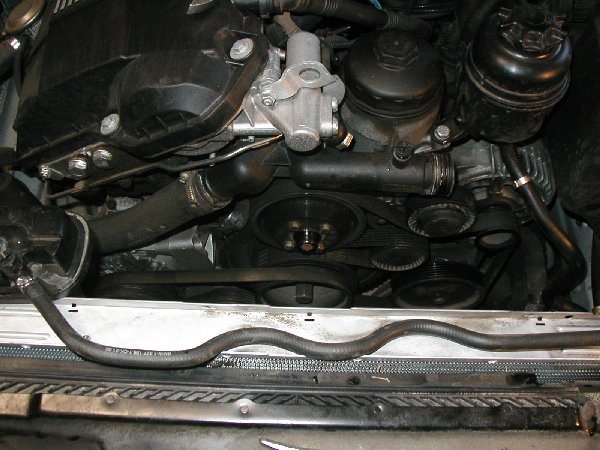
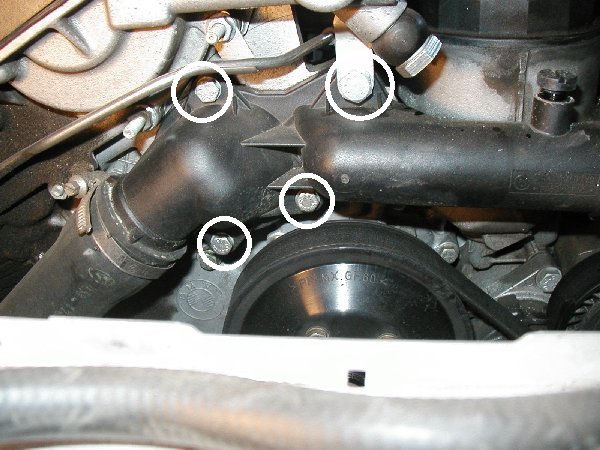
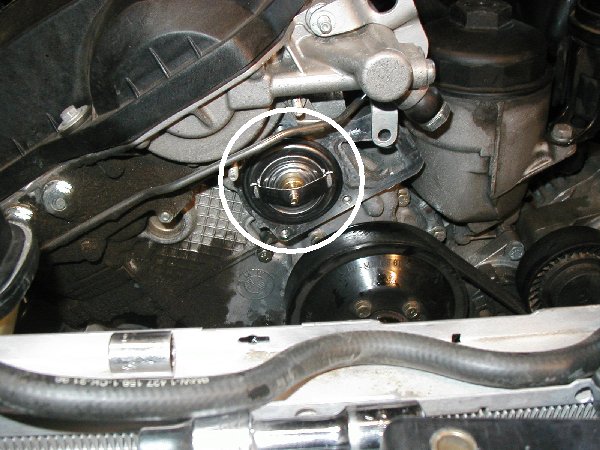
The following procedure will help you remove the fan and the cowl to gain access to the thermostat.
 
Here is a closeup of the fan and the nut that attaches to the pulley.  Detach the fan (the nut is reverse threaded) and let it rest inside the cowl for now. You only have about 3/4" to an 1" of working space between the fan and pulley.
Start by removing the two fasteners on the cowl. This is the one on the right side (this picture). There is another fastener on the left (see small circle in next picture).  Just pull the small pins and then remove the large fasteners.
Remove this bleeder screw and the clip that connects the cowl to the reservoir. 
Loosen the two hose clamps on this hose and rotate it up and out of the way.
This is an inside view of the cowl after removal. Two things to note: 

1. The circled area shows where the reservoir is attached at the bottom. The reservoir must be popped out before lifting out the cowl. 

2. The rectangular area shows where the reservoir hose is clipped in place. Just pull the hose from the clips and let the hose hang.

Lift the cowl slightly to gain access to the hose clamp circled.  Remove the clamp and pull the hose through the opening on the underside of the cowl near the reservoir. You will need to replace this hose clamp (it is a one time use). 

Now you should be able to pull the entire cowl out. You may want to pull the fan out first after you are able to pull up the cowl a few inches.

You nowhave easy access to the thermostat. Notice the reservoir (on the left) and small snake hose still attached.

There is no real need to completely remove any of the hoses.

Here is a close-up of the thermostat housing. The three small ones are 10mm and the larger is 13mm.  The 13mm bolt is also holding a bracket in place. You will need to loosen the nut (12mm) on the other end of the bracket .
Here is the inside of the housing. The orange gasket should be replaced.
Install the new thermostat. The black rubber gasket is installed on the outside of the thermostat to make a seal with the housing once reinstalled.

Now just put it all back in reserve order. Remember to drop the fan back into place before you get the cowl in its final position. The fan requires 29 ft lbs of torque. You will need to replace the anti-freeze and bleed the system to get the air out.