Differential
Swap procedure
Refer
to the Photos at:
http://demandred.dyndns.org:3000/540i/gallery/diff
Or
Click on all pictures below for larger view.
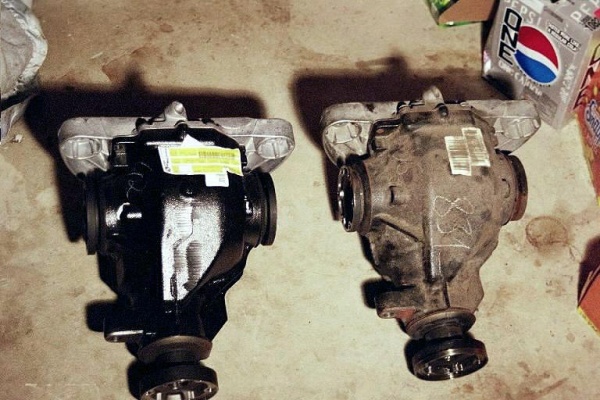
Materials needed: New Diff(obviously) – Photo 1
Gasket for drive shaft CV joint – Photo
13
2 quarts of 75W90 gear oil
The
easiest way to do this job is to use a lift and a transmission jack. However I
do not own nor do I think most of you own such equipment so it is down to the
floor we go. You could remove the
exhaust pipe to get more clearance but maneuvering the diff out around the pipe
is not that much harder and in my opinion the extra work to remove the exhaust
is not worth it.
Begin
with getting the rear of the car as high as you can safely. Securely chock the
front wheels and jack the car from under the diff.
Place at least two good solid jack stands at both jacking points on the
rocker panels. I backed the car up wooden ramps and then jacked it up from there
to get sufficient height. Since the
diff is heavy and you are laying on the floor, the higher you can go the more
room you will have to work which will make a big difference. You do not have to remove the rear wheels but you have to be
able to turn the wheels to get at all the bolts and nuts.
With
the handbrake on remove the bottom 3 axel hub bolts on each side. Release the
handbrake, turn the wheels so the next 3 bolts line up and re-apply the brake.
Remove the last 3 bolts on each side.
There are 6 total. On my car (2000 540i/6sp) these bolts had star shaped heads
which require a multipoint tool (Photo 2).
None of my sockets fit securely enough so I used a 3/8" box wrench.
I used the English type as this fit the star head tighter than the
nearest metric. In fact my 3/8" socket began to slip so I quickly went to
the box wrench which worked well. Perhaps
there is a star shaped socket available.
Once
the bolts are all removed along with the link stiffeners (one per two bolts),
just pull the axel joint away from the hub and push and tie the axel up to the
frame (Photo 3). This will keep the axels from getting in the way later. If
the joint seems stuck to the hub just tap it lightly with a small hammer while
pulling on it.
Next
put the car in gear and remove the lower 3 nuts on the driveshaft hub.
These are standard metric nuts and the bolts are pressed in studs.
Release the clutch turn the driveshaft to access the remaining 3 nuts and
remove them. You can pull the driveshaft back an inch or so but not enough to
clear the hub flange (Photo 4). You will have
to disengage the driveshaft later when dropping the diff.
This is the hard part.
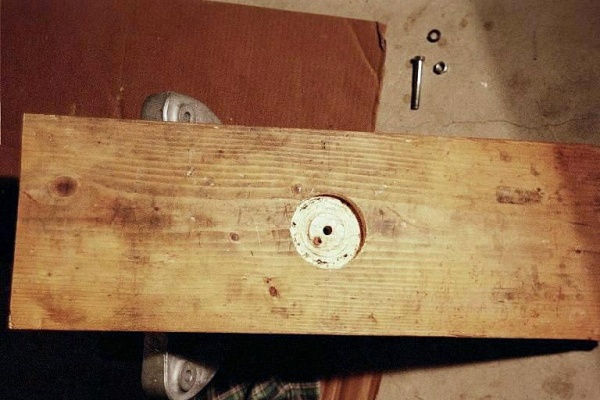
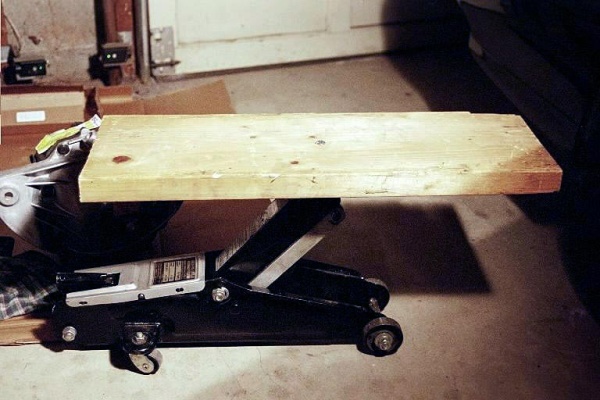
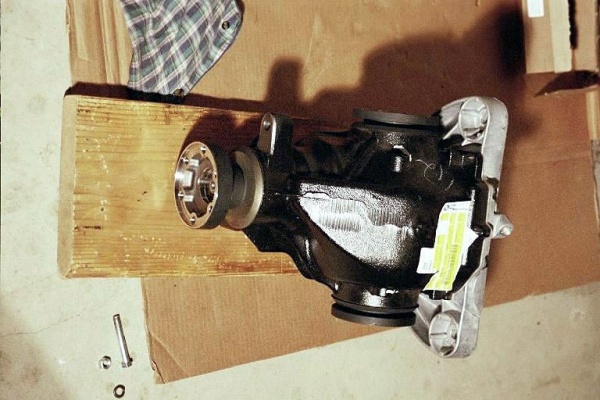
Place
a jack under the diff. I took a piece of 2 X 10 board and cut it to 18".
I drilled a 3" recess and a through hole for a bolt which I attached
to my floor jack after removing the lifting cup (Photos
5, 6, and 7). Now at least I
had a level flat surface to lift the diff.
Now
there are three bolts holding the diff to the frame all mounted on rubber
isolators. One is at the front on
the right side and the other two are at the top rear of the diff.
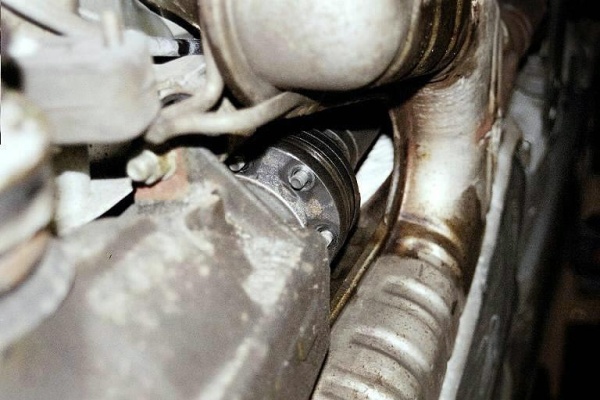
The front one is straightforward but the right rear is not so easy.
The bolt pushes in from the diff side and is held by a NON-CAPTIVE nut on
the frame near the trunk that is recessed so the head is just about flush to the
frame. No problem getting a socket on the left side nut but on the right side
the spare tire well protrudes and gives only about ½" clearance.
You need a short 18mm socket which has to be angled and juggled into the
recess. This took me a little time to
remove.
 (pics
5-7)
(pics
5-7)
Now
that all the fasteners are out wiggle the
diff down while twisting it down on the right side to clear the exhaust pipe.
Once you get it angled down enough you can pull it back as you lower it
to disengage it from the driveshaft. I
had to use a big screwdriver to pry the top left ear of the rear cover of the
diff down over the frame since the last ¼" got it caught and wedged to the
frame. Now just lower it and slide
it out. A second person to help will make it easier.
At
this point you will probably be aching and dirty so take a break and have a beer
while contemplating the beasts in front of you (Photo
9). If you have a 6 speed as I
did you will have to swap the axel hubs as the automatic uses larger hubs with
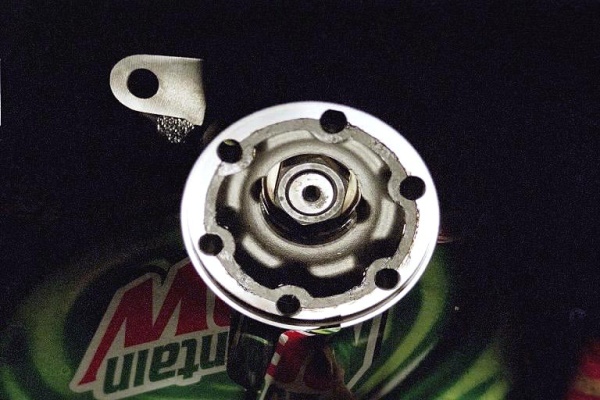
larger bolts (Photo 10). You do not
have to open up the diff as I did (Photo
11) before I found out how to swap the hubs.
The hubs are retained by a spring clip on the splined shaft similar to
the method used for the driveshaft to transaxel method used on most front wheel
drive cars (Photo 12).
A large screwdriver or pry bar can be used against a wedge to pop them
out. I used a breaker bar for the
wedge. To pop it in I just seated
it and bumped it with the heel of my hand and it popped right in.
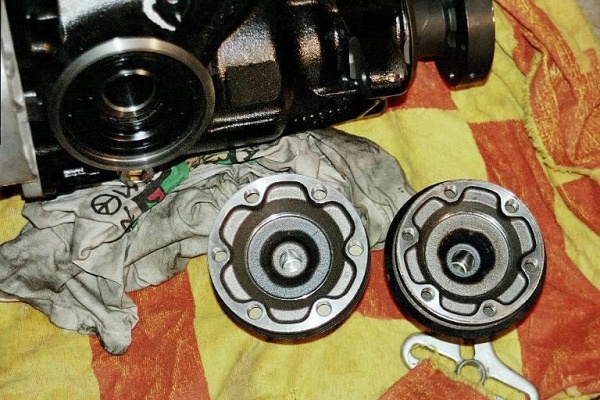
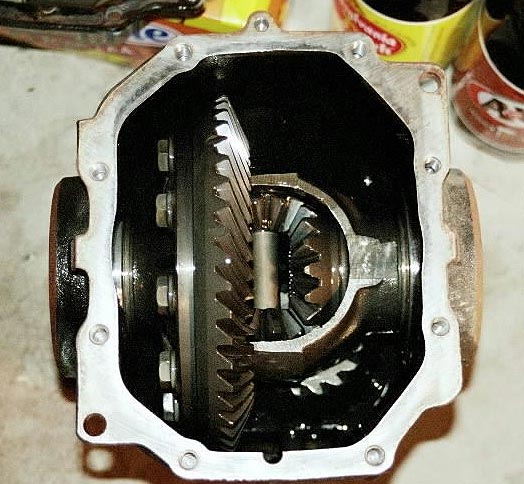
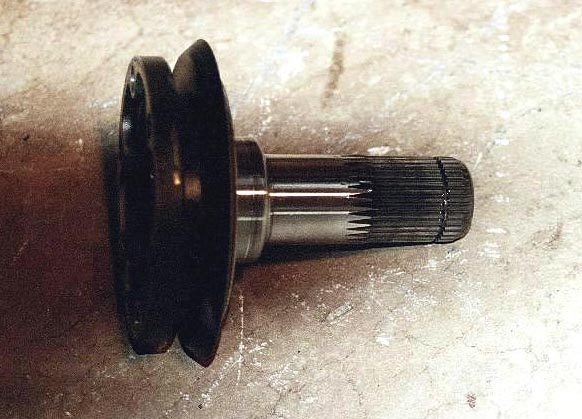 (pics 9-12)
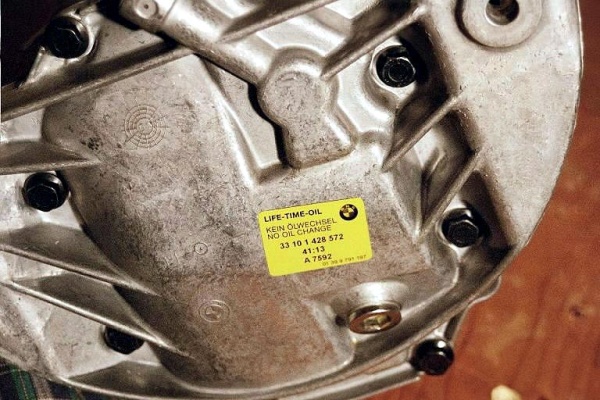
It
is easier to fill the diff while it is out of the car so if yours came dry fill
it now. Mine came filled but I
changed the fluid to Redline oil anyway. The
filler/drain plugs are 14mm recessed hex so you will need a 14mm allen wrench or
socket. These are not common and
will probably have to be ordered so do it ahead of time.
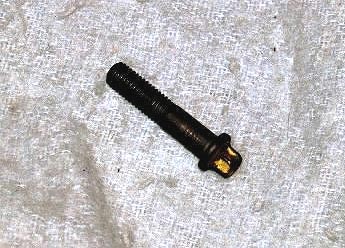
Lastly, there is a thin gasket (.032") that fits in a step in the driveshaft hub in the diff (Photo 13). This keeps the CV joint grease from working its way out. When I removed the diff my gasket came out in pieces. I assume that BMW would have a replacement from the dealer but I discovered this at the last moment so I used gasket paper to make my own. I used the new hub as a die and trimmed it with a razor. I used gasket shellac to retain it in place during the installation (Photo 14).
The
installation requires two people to maneuver the diff into place while engaging
the driveshaft studs to the hub. Use the jack to lift it while slowly rotating
it to clear the exhaust pipe. Install it the same way as you removed it with the
second person aligning the driveshaft. Again
I had to force the upper left ear of the rear cover up over the frame
crossmember. Once that popped in
then it is just a matter of wiggling and rotating it to align the mounting
holes. Start the bolt of the front
mount first and while aligning the holes slide the bolt in.
I did not actually remove this bolt but just slid it back so it was in
position for re-assembly. Install the nut but do not tighten.
Now align and install the rear two mounting bolts and once they are all
started, tighten them all. There is
no room to get a torque wrench in there so just tighten them good and tight by
hand on a 10-12" wrench or rachet.
Now
install and tighten the driveshaft hub bolts using a cross tightening pattern.
Slide the axels in position and re-attach the hub bolts.
Note that the stiffener plates go on one way only.
One side is smooth and the other has small ridges around the bolt holes.
These mate with similar small ridges on the underside of the bolt head.
This is used to prevent vibration from loosening the bolts in lieu of lock
washers. Therefore the smooth side
faces the hub. Again tighten the bolts in a cross pattern.
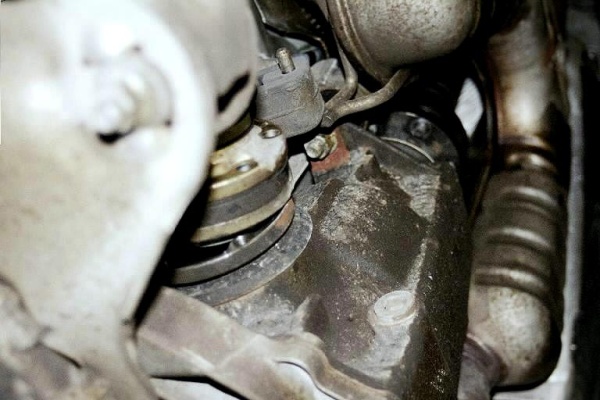
Wipe off any solvents or grease from the exhaust to avoid smoke when you run the car for the first time (Photo 15). Lower the car and enjoy the new found thrust.